At a glance
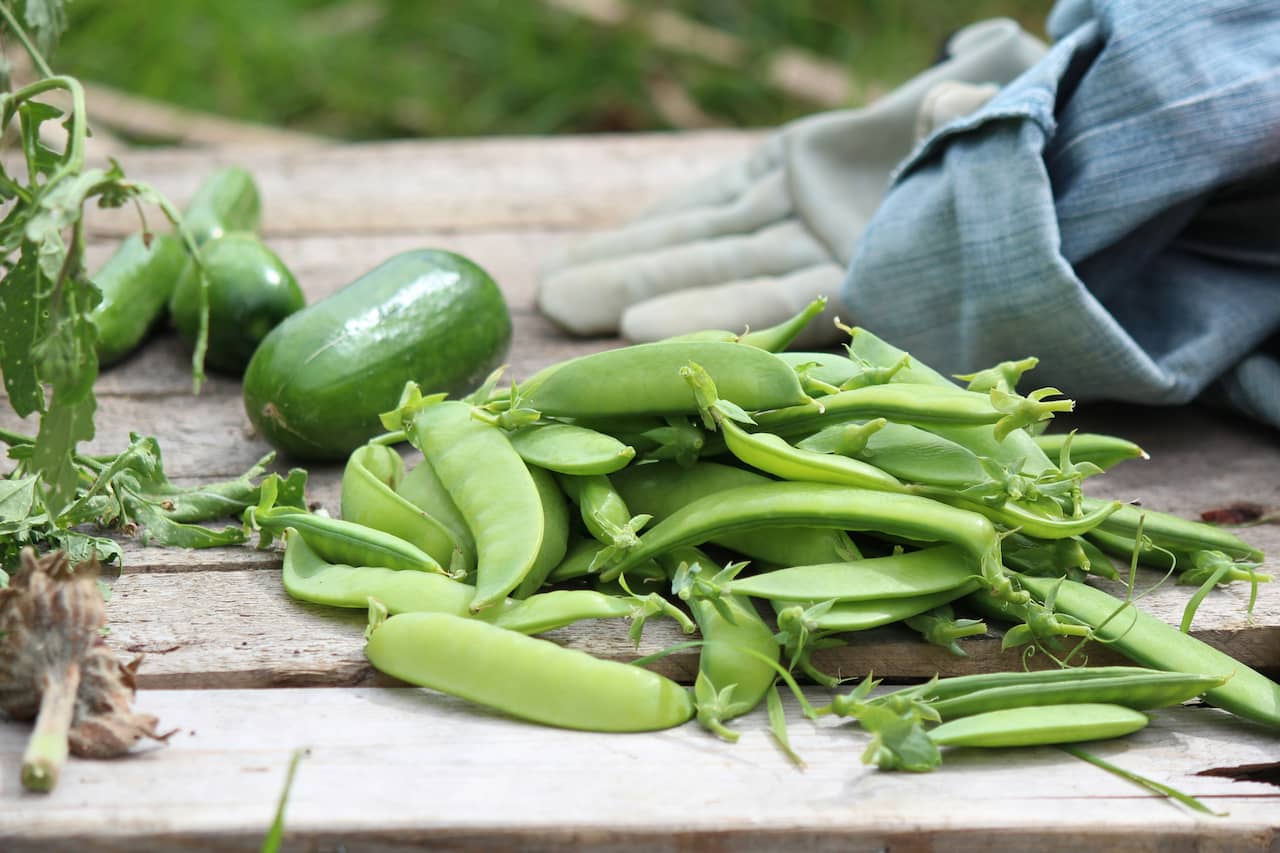
A pea picked straight from the pod in the garden is a completely different thing from anything that comes in a bag from a supermarket. The sugars in a freshly picked pea begin converting to starch within hours of harvest – by the time a commercially grown pea reaches your plate, a significant proportion of that sweetness is gone. Growing your own is the only way to experience peas as they should taste, and they are genuinely one of the easier vegetables to manage once you understand the basics of sowing, support and picking.
Peas are a cool-season crop that suits the British climate well. They dislike heat and perform best in the mild, moist conditions of a UK spring and early summer. They fix their own nitrogen from the air via root nodules, which means they need little feeding and actively improve the soil for whatever follows them in the rotation. A well-supported row of peas in full growth is also one of the most attractive sights in the kitchen garden – the tendrils, flowers and swelling pods justify their space on aesthetic grounds alone.
Types and varieties
There are three main types of pea grown in UK gardens, and the choice between them comes down to how you want to eat them rather than any significant difference in growing method.
Kelvedon Wonder is the most widely grown garden pea in the UK and a good starting point – it is compact enough to grow without tall supports, crops heavily, and has excellent flavour. Alderman is a traditional tall variety that needs full support but produces outstanding yields. Sugar snap and mangetout varieties are eaten pod and all, which eliminates the shelling stage entirely – a significant advantage for a small plot where growing space is at a premium.
Sowing and planting
Peas are sown direct into the ground rather than raised in modules, as they dislike root disturbance. The exception is an early start under cover in February or March in guttering or a length of drainage pipe, which can then be slid out and planted as a complete plug without disturbing the roots. For most gardeners sowing direct from March onwards is the simplest approach.
Sow seeds 5cm deep in a flat-bottomed trench or individual holes, spacing seeds 7-10cm apart in a double row with 20cm between rows. A double row allows each plant to support its neighbours and makes best use of a single run of netting or pea sticks. Pre-soaking seeds for a few hours before sowing can speed up germination, though it is not essential in moist spring soil. Cover the trench and firm down gently. In cold springs, covering with fleece after sowing will bring germination forward by a week or two and protect emerging seedlings from hard frosts.
Make successive sowings every three to four weeks from March through to early June for a continuous harvest through summer. Later sowings often catch up with earlier ones in a warm summer as the plants prefer slightly warmer soil, so do not be put off sowing in May or June – these later sowings frequently outperform March sowings in a cold spring.
Support and growing on
All peas need something to climb, even compact varieties. Pea tendrils grip thin supports readily but cannot wrap around anything thicker than a finger, so fine-gauge netting, twiggy pea sticks, or purpose-made pea netting are the right options. For dwarf varieties up to 60cm, a single run of small-mesh netting between two canes is sufficient. For taller varieties like Alderman that reach 1.5m or more, a stout framework of canes with horizontal strings or netting between them is needed, as the combined weight of plants and pods in full growth is considerable.
Pea sticks – the traditional method of pushing in twiggy brushwood cut from hazel or birch – are still one of the best supports available. They are free if you have the right shrubs to hand, perfectly scaled to the tendrils, and they decompose harmlessly on the compost heap when the season is done. Install any support system at sowing time rather than waiting until the seedlings appear – young pea plants establish more successfully when they can grip a support from the moment they emerge.
Water peas at the base, avoiding wetting the foliage where possible, as damp leaves encourage powdery mildew. The most critical watering periods are at germination, when flowering begins, and when pods are swelling. Between these stages peas are reasonably drought-tolerant. Feed is generally not needed – peas fix their own nitrogen and excessive feeding, particularly with nitrogen, produces lush foliage at the expense of flowers and pods.
Seasonal care calendar
Harvesting and storing
The single most important thing to know about harvesting peas is to pick frequently – every one to two days when plants are at peak production. Leaving pods on the plant signals to the plant that its reproductive purpose is complete, and it stops producing new flowers. Daily picking keeps the plant in a continuous cycle of flower production for weeks. Once the pods are swelling visibly and the peas inside can be felt through the pod wall, they are ready. For mangetout and sugar snap types, pick before the peas inside have swollen at all – the pod should be flat and the seeds barely visible as outlines.
Fresh peas deteriorate quickly, so eat on the day of picking wherever possible. For shelled peas, blanch briefly in boiling water and freeze immediately if you have a glut – frozen within an hour of picking they are far superior to anything sold commercially. Dried peas saved from mature pods at the end of the season can be stored for sowing the following year, provided the variety is not an F1 hybrid, which will not come true from saved seed.
Common problems
Share on socials: