At a glance
A stone garden wall is one of the most satisfying DIY projects in a UK garden – it is genuinely permanent, improves with age, requires no painting or ongoing treatment and adds a sense of solidity and character that no fence or trellis can replicate. The skills required are learnable by any competent and patient DIYer willing to take their time, and a modest garden retaining wall or low boundary wall is a realistic and rewarding first project.
The choice between dry stone construction (no mortar) and mortared stonework fundamentally changes the technique, the tools and the final result. Dry stone walls are the traditional UK approach – used for centuries across the countryside – and can be built without a concrete foundation. Mortared walls require a proper concrete foundation, take longer to build and are less sympathetic to ground movement, but produce a cleaner, more formal result that suits modern garden settings.
Dry stone vs mortared walls
Both approaches produce a lasting and attractive stone wall, but they suit different settings, budgets and skill levels. Dry stone walling is a traditional UK craft that rewards patience and a good eye for fitting stone together – the absence of mortar means you can adjust stones repeatedly until you find the right fit, making it more forgiving for beginners than mortared work. Mortared walling is closer in technique to bricklaying – it demands consistent mortar mixing, careful joint management and a fully cured concrete foundation before a single stone is laid. Choosing the right approach for the project before ordering stone saves time, money and frustration.
For most UK domestic garden projects at or below 600mm height, a dry stone approach is the right starting point. It is more forgiving of variation in stone size, requires no concrete mixing, can be adjusted as you build and creates natural habitat for invertebrates and small reptiles – a meaningful benefit for garden wildlife. For retaining walls, boundary walls over 600mm or formal garden features, a mortared wall provides better structural integrity.
Planning and permissions
A garden wall up to 1 metre high on or adjacent to a highway (including a footpath), or up to 2 metres elsewhere, generally does not require planning permission under permitted development rights. A wall over 1 metre on a boundary with a highway, or over 2 metres anywhere, requires planning permission. As with any boundary structure, confirm the wall sits on your property and that you have your neighbour’s agreement where the wall abuts their land.
For retaining walls holding back a significant slope or bank, the structural loading is greater than for a simple boundary wall and the wall must be designed to handle it. A retaining wall over 600mm retaining a significant volume of soil should be checked by a structural engineer if there is any doubt about load capacity, particularly where the retained soil is at risk of becoming waterlogged – saturated soil is considerably heavier than dry soil and places substantially more lateral pressure on the wall face. Mortared retaining walls must include weep holes at the base – short sections of pipe or deliberately unmortared joints – to allow water to drain through rather than build up pressure behind the wall face.
Never build on a shared boundary without agreement. Building a wall on or over a shared boundary is covered by the Party Wall Act 1996. If your wall is on the boundary line between your property and a neighbour’s, you must serve a party wall notice and get written agreement before any work begins. This is a legal requirement, not a courtesy – ignoring it can result in an injunction to demolish.
What you’ll need
Materials and quantities
Natural stone is sold by the tonne and coverage varies significantly by stone type and the thickness of individual pieces. As a general guide, 1 tonne of sandstone or limestone covers approximately 4-5 square metres of wall face at 200mm average stone thickness. For a wall 600mm high and 3 metres long – 1.8 square metres of face area per side plus the top – plan for approximately 1.5-2 tonnes of stone including wastage from cutting. Always order 10-15% more than the calculated quantity; running out of matching stone mid-build is a frustrating and common avoidable problem that leaves you waiting for a delivery and potentially unable to match the original stone lot exactly.
For a mortared wall you also need: sharp sand and cement for the mortar (4:1 sand to cement ratio for most applications), concrete for the foundation (20N ready-mix or a 5:1 ballast to cement mix), and pointing tools. A bolster chisel and club hammer are the essential stone-cutting tools for any project. An angle grinder with a diamond disc makes cutting significantly faster and more accurate for larger projects.
Laying the foundation
For a mortared wall, excavate a foundation trench to at least 300mm depth – 450mm is safer on clay or soft soils that heave with frost and seasonal moisture change. Make the trench 100mm wider than the intended wall width on each side to give the concrete a proper footing. Fill with concrete to within 150mm of ground level and allow to cure for at least 48 hours before building begins, and ideally 7 days for close to full strength. Do not be tempted to start building on fresh concrete – a foundation that shifts under load before it has cured will crack every mortar joint above it, requiring the wall to be dismantled and rebuilt.
For a dry stone wall, simply excavate the topsoil to expose firm subsoil and set the first course of large, flat foundation stones directly into the ground. The bottom course should be the largest, flattest stones available – they form the base of the wall and their stability determines everything above them. Compact the subsoil thoroughly and confirm the first course is sitting completely firm before adding any weight. The base course of a dry stone wall is typically set slightly wider than the courses above, giving the wall a natural wedge shape from ground level upward that significantly increases its long-term stability.
Building the wall
Whether dry stone or mortared, the fundamental rules of stone walling are the same: bond the joints (ensure each stone bridges the joint in the course below, like brickwork), keep courses roughly level, lean the wall faces inward slightly – the batter – for stability, and place tie-stones that run the full depth of the wall every 600mm and at every other course to lock the two faces together. Understanding these four rules before picking up the first stone prevents the most common structural failures. A wall built without bonded joints and without tie-stones will separate into two independent skins and eventually collapse outward – this is one of the most common failures in DIY stonework and it is entirely preventable.
Work from both ends toward the middle, using a string line stretched between temporary corner profiles to keep each course level and the wall face plumb. Fill the core of a double-skin wall with smaller stone and compacted rubble – an unfilled or loosely filled core weakens the wall significantly over time and causes the faces to bow outward as the wall settles. The core material should be packed firmly as you rise, not tipped in loosely at the end.
Cutting stone to fit is done with a bolster chisel: score a line all the way around the stone, place the chisel on the scored line and strike firmly with the club hammer. The stone should split cleanly along the score. Practice on waste stone first – a confident, decisive strike produces a cleaner split than a tentative tap, and the angle of the chisel relative to the stone face makes a significant difference to the quality of the break.
Finishing and pointing
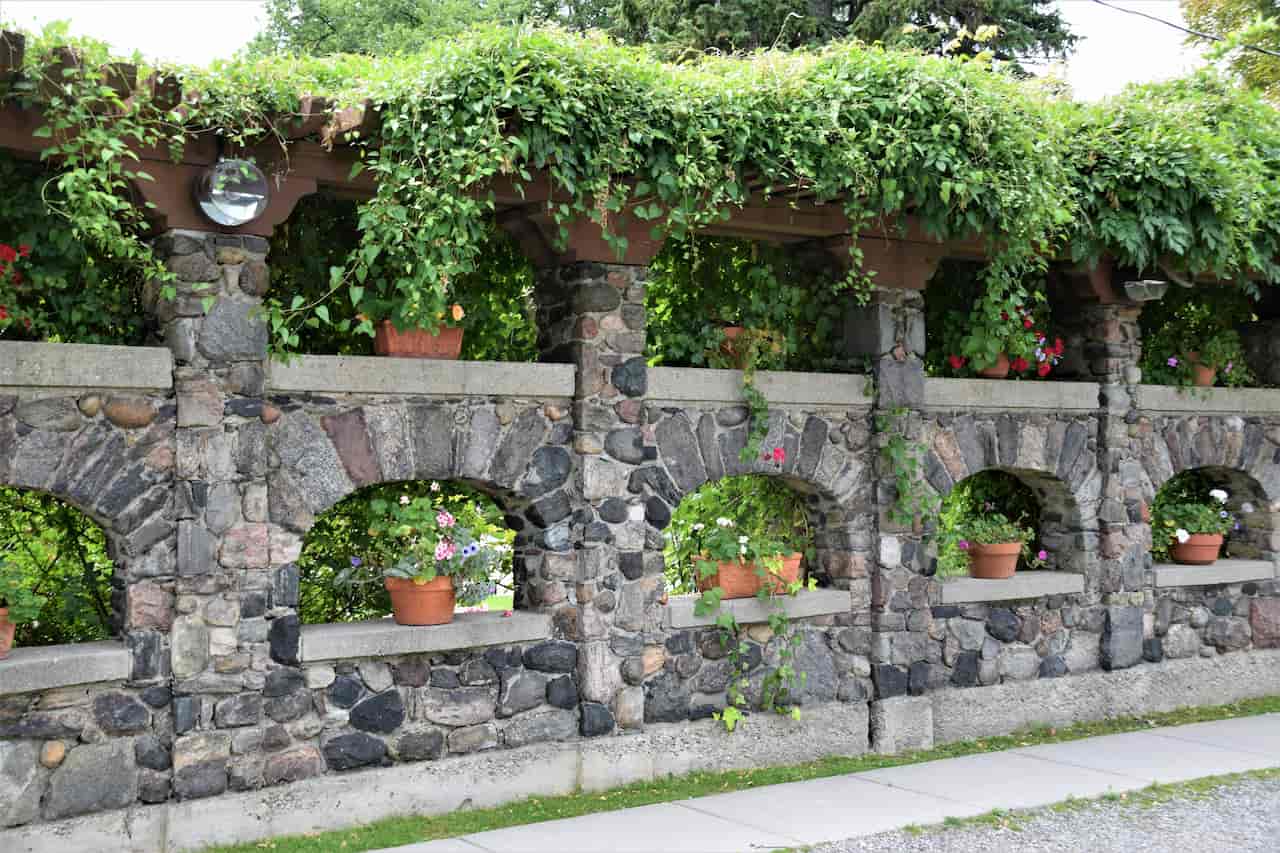
The top course of a mortared stone wall should be finished with coping stones – flat, broad stones that overhang the wall face slightly to throw water clear and protect the mortar joints below from direct rainfall. Coping stones take the brunt of UK weather and must be mortared firmly in place. Their joints should be pointed particularly carefully as this is the most exposed part of the wall.
Pointing the mortar joints of the wall face is done with a pointing trowel or a piece of dowel rod pressed into the fresh mortar to form a recessed joint profile. Allow the mortar to firm up to a firm but workable consistency – roughly the texture of cheddar cheese – before pointing. Pointing wet mortar smears the stone face and produces an untidy finish that is difficult to correct once set. A recessed joint sheds water more effectively than a flush or proud finish, looks more natural on traditional stonework and is considerably more forgiving to execute neatly than a flush joint. For a gravel garden bounded by a stone wall, the two elements complement each other particularly well and the combined maintenance requirement remains low throughout the season.
Share on socials: