At a glance
A garden wall is one of the most enduring improvements you can make to an outdoor space. Built correctly with adequate footings and the right mortar mix, a brick or block wall will outlast almost any other garden structure and requires virtually no maintenance once complete. It defines boundaries clearly, creates privacy, provides shelter from wind, and gives a hard, permanent backdrop for planting. The challenge is that bricklaying is a skill that demands accuracy – walls that are not plumb, level and correctly bonded look poor and can fail over time – but it is learnable with the right preparation and an understanding of the basic principles.
This guide covers the complete process for a single-skin garden wall in brick or concrete block, from footings to coping, including the planning permission rules that apply to garden walls in the UK. A single-skin wall is the right starting point for most garden projects – it is structurally adequate for walls up to around 1.2m in height, and the skills developed on a single-skin wall translate directly to more complex double-skin or cavity construction if needed later.
What you’ll need
Wall types and materials
The choice of material sets the character of the finished wall and affects both the difficulty of construction and the long-term maintenance requirement. Each material has different structural properties, cost implications and visual results.
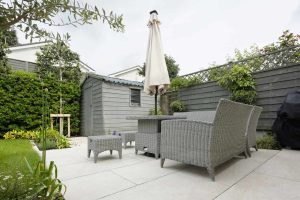
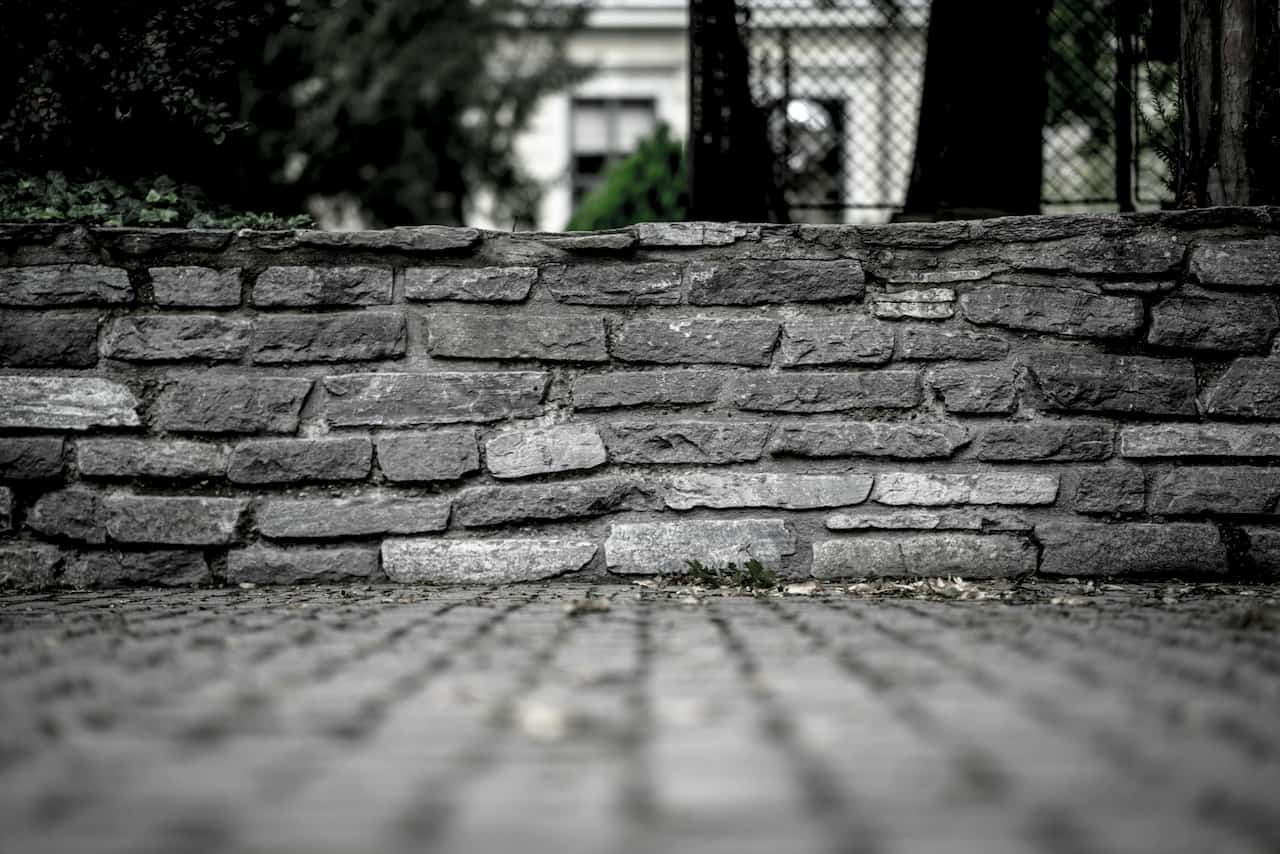
Facing brick is the most popular choice for UK garden walls and for good reason – it weathers well, ages attractively, and a brick wall built to match the house exterior blends into the property in a way that concrete block never quite achieves. Concrete block is the right choice where the wall will be rendered or clad, where cost is a priority, or where speed of construction matters – the larger unit size means faster laying. Natural stone produces the most beautiful results but is genuinely challenging to build with due to the irregular shapes, and is best attempted after gaining confidence with regular units first.
Planning permission
Garden walls are subject to permitted development rules in England and Wales. The key thresholds are 1 metre in height for walls adjacent to a highway (including a public footpath), and 2 metres for walls elsewhere on the property boundary or within the garden. Walls within these heights can generally be built without planning permission as long as the property is not in a conservation area, an Area of Outstanding Natural Beauty, or subject to an Article 4 direction that removes permitted development rights. If the house is listed, all boundary structures require listed building consent regardless of height.
For any wall that could affect a neighbouring property – particularly if it sits on or close to the boundary – it is worth familiarising yourself with the Party Wall Act 1996, which sets out the notice requirements and dispute resolution procedures for work near shared boundaries. Checking the government’s planning guidance before starting any wall project is good practice, and your local planning authority can confirm whether any local restrictions apply to your specific property.
Laying the footings
The footing is the concrete base that the wall sits on, and it is the most critical element of the build. A wall without adequate footings will move as the ground shifts through seasonal freeze-thaw cycles, causing cracking and eventual collapse. The footing must be wider than the wall – for a single-skin brick wall, a footing 300mm wide and 150mm deep is the minimum, and the trench itself should extend a further 150mm below the footing to reach undisturbed subsoil. In clay soils or on a sloping site, deeper footings of 300-450mm are prudent.
Dig the trench to the required depth using a spade, keeping the sides as vertical as possible. Compact the bottom of the trench firmly and check it is level with a spirit level. Mix concrete at a ratio of 1 part cement to 2.5 parts sharp sand to 3.5 parts aggregate (or use a bagged ballast mix), and pour to the required depth. Tamp down firmly to remove air pockets and level the surface with a straight edge. Allow the concrete footings to cure for a minimum of 48 hours – ideally 72 hours – before beginning to lay any brickwork.
Building the wall – step by step
Set out the wall line
Drive pegs at each end of the wall and stretch a builder’s line between them at ground level. This defines the face of the wall precisely and gives you a reference to work to throughout the build. Dry-lay a course of bricks along the line without mortar, spacing them with 10mm gaps for mortar joints, to check the layout and identify where cut bricks will be needed at corners or ends.
Build the corners first
Always build the corners (quoins) up three or four courses before filling in the run between them. Use a gauge rod – a timber batten marked at 75mm intervals to represent one brick plus one mortar joint – to keep course heights consistent as you build up. Check plumb with a spirit level on both faces of the corner after every course. Corners that are not plumb spread the error along the entire wall.
Lay each course between the corners
Stretch the builder’s line between the two corners at the height of the current course, using line pins hooked into the mortar joint. Lay a mortar bed 10mm thick along the footing or previous course. Lay each brick to the line, tapping level with the handle of the trowel. Butter the end of each brick with a vertical mortar joint before placing it against its neighbour. Check level along the run with the spirit level after every three or four bricks.
Maintain the bond pattern
For a single-skin wall, stretcher bond is the standard pattern – each course offset by half a brick length so the vertical joints never align between courses. This interlocking arrangement is what gives the wall its structural integrity. Never allow the vertical joints of consecutive courses to line up – this creates a straight vertical joint through the wall that is a significant weakness.
Point the joints
Once a section of wall is laid and the mortar has firmed up – typically 30-60 minutes after laying – go back and finish the joints. The most weather-resistant finish is a slightly recessed, slightly angled struck joint that sheds water away from the wall face. Use a pointing trowel or jointing iron to rake out any excess mortar and compress the joint neatly. Flush or rounded joints are also acceptable – avoid deep-raked joints on exposed walls as they trap water.
Fit a coping or capping
The top of the wall must be protected from rain penetration, which drives down through the mortar joints and accelerates frost damage. Fit a purpose-made brick-on-edge coping, a concrete coping stone, or a natural stone slate coping laid in mortar with a slight overhang on both faces to throw water clear. A wall without a coping will deteriorate significantly faster than one properly capped, particularly through UK winters.
Never build more than 1 metre of wall height in a single day. Freshly laid mortar has not yet developed the strength to carry additional courses on top without the bricks sinking and the joints spreading. Building too high too fast produces a wall with inconsistent joint widths and potential movement at the base of the fresh section. Stop at around 1 metre per day, allow the mortar to harden overnight, and continue the following morning.
Common problems and solutions
Share on socials: